


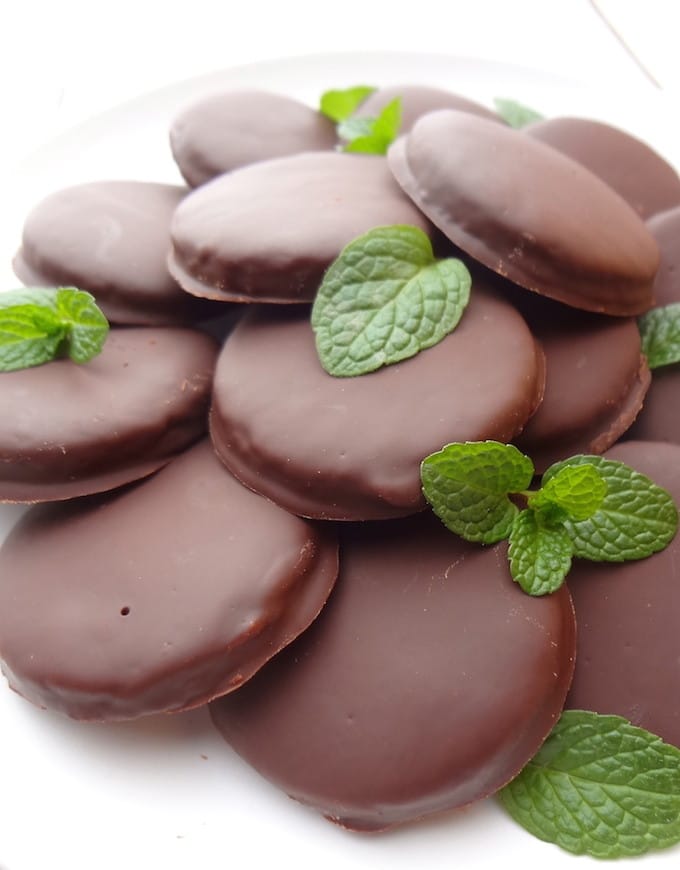
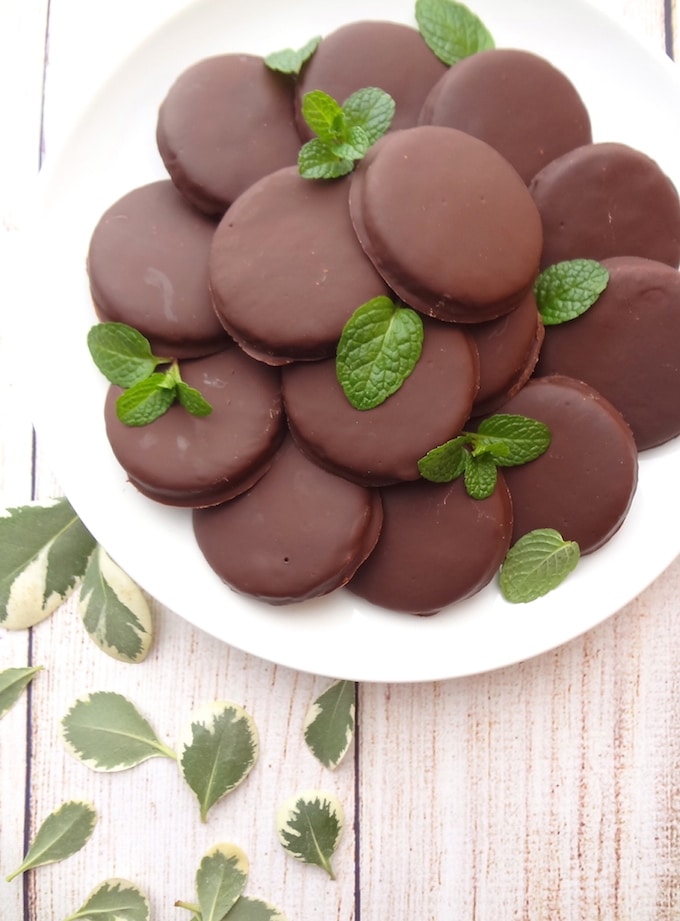
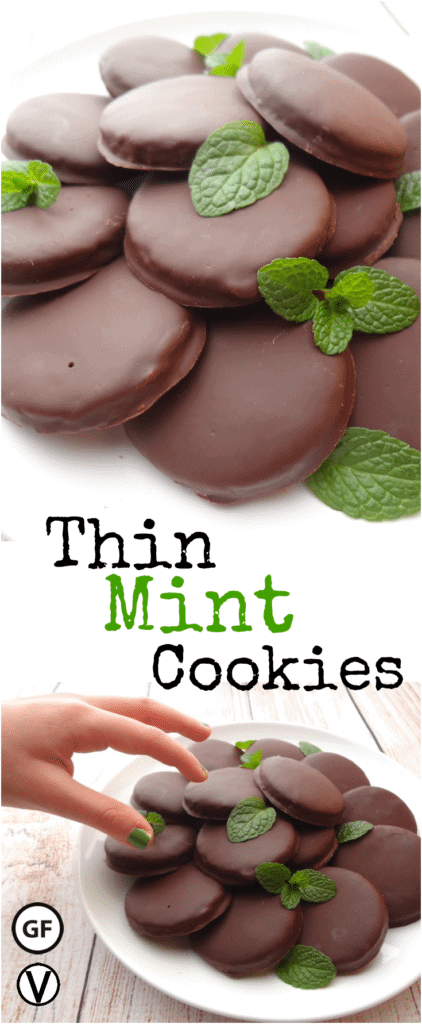
These Gluten-Free Thin Mint Cookies are so good you can't eat just one! They're reminiscent of the classic "Girl Scout" cookie, but they're vegan, gluten-free AND only 10 ingredients. Enjoy a healthier option all year long.
These Vegan Thin Mints are:
Vegan (of course)
Gluten-Free
Only 10 ingredients
Chemical-Free
Non-GMO
HOW MUCH BETTER CAN IT GET?!?
I was always a fan of Girl Scout cookies. I would wait all year to get a few boxes. The thin mints were by far my favorite, I could eat a whole box in a day!
Fast forward many years later and my eating habits have completely changed. I can no longer run to the store for a package of cookies, let alone a box of Girl Scout cookies.

This Gluten-Free Thin Mint Cookie recipe allows me to enjoy those minty, chocolatey cookies I once loved without the "bad stuff". And the best part- I can enjoy this healthier option all year long!
Head on over to the Gluten-free section of the blog for more GF recipes!
We'd love to hear from you!
If you enjoyed this recipe, please leave a 5-star rating in the recipe card and share your thoughts in the comments below.
Also, if you snap a photo be sure to share it with us! We love to see your creations! You can find us on Pinterest, Facebook, and Instagram.
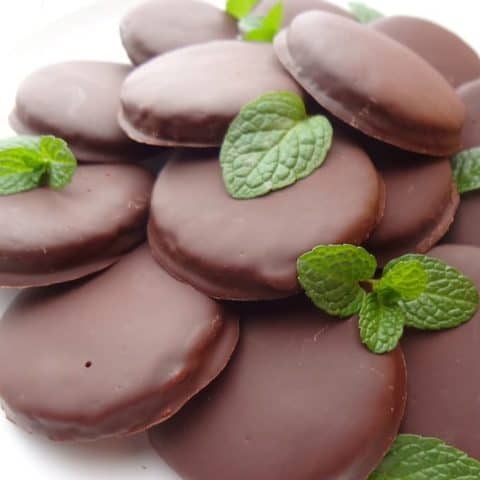
Gluten-Free Thin Mint Cookies
These Gluten-Free Thin Mint Cookies are reminiscent of the classic "Girl Scout" cookie, but they're vegan, gluten-free AND only 10 ingredients.
Ingredients
For the Cookie
- 1 and ¼ cup almond flour*
- 4 Tablespoons coconut oil, use refined for a neutral flavor
- 1 teaspoon vanilla extract
- 4 Tablespoons maple syrup
- pinch of Himalayan pink salt
- ¾ cup tapioca starch
- 1 Tablespoon cocoa powder, sifted
Mint Chocolate Coating
- 1 cup vegan chocolate chips, I use Enjoy Life
- ½ teaspoon peppermint extract
- 1 teaspoon coconut oil, refined
Instructions
Cookie
- Preheat your oven to 350º and line a baking sheet with parchment paper.
- With a whisk, whip the coconut oil until smooth. Add the vanilla extract, maple syrup, and salt. Mix until well combined.
- Add the remaining dry ingredients: almond flour, tapioca starch, and cocoa powder. With a wooden spoon, mix until fully combined. If the dough is too sticky add 1 Tablespoon at a time, altering between tapioca starch and almond flour until a dough forms.
- If the cookie dough becomes too oily after mixing, place it in the fridge for about 10-15 minutes to harden a bit.
- Sprinkle a clean surface with tapioca starch. (I like to use a non-slip mat, it makes removing the cookies easier.) Roll the dough out to about a ¼ inch thickness.
- Using a 2 inch round cookie cutter (or the rim of a small glass), cut out as many cookies as possible. Gather the remaining dough and repeat the previous 2 steps until the dough is gone.
- Place cookies on a baking sheet and bake at 350º for 10-12 min. Bake in batches if needed.
- Carefully remove the cookies from the oven.
- When cool enough to handle, place cookies on a cooling rack to cool for at least 30 minutes before adding the chocolate coating.
- Store cookies in the fridge if you're not adding the chocolate coating right away. When ready, remove from the fridge before prepping the chocolate.
Mint Chocolate Coating
- Flip your baking sheet over and place a piece of parchment paper over the bottom. (Using the bottom of the baking sheet keeps the parchment paper from turning up in the corners and possibly ruining the chocolate coating.)
- In a double boiler, add chocolate chips, oil, and mint extract. Heat on low until the chocolate is melted and smooth. Turn off fire and dip each cookie, 1 at a time, in the chocolate. Dip the top of the cookie first, then using a spatula, and the help of a fork, flip it over. Using the fork, remove the cookie from the chocolate and tap as much excess chocolate off as possible. Place on the parchment paper. Once the parchment paper is filled up, or all the cookies have been dipped, place them in the freezer for at least 15 minutes to solidify the chocolate.
- Store in an airtight container. I found the cookies to be best kept in the freezer, but they also do well in the fridge.
Notes
- Almond Flour- Almond flour can be substituted with almond meal. To make the almond meal yourself, simply pulse almonds in a food processor until they are finely ground. Be sure not to blend too much, you don't want to make almond butter.
- Coconut Oil Note- I use organic refined coconut oil, as my family isn't super fond of coconut taste. However, if you don't mind the flavor, use unrefined coconut oil.
Nutrition Information:
Yield: 20 cookies Serving Size: 1 cookieAmount Per Serving: Calories: 105Total Fat: 6gSaturated Fat: 4gTrans Fat: 0gUnsaturated Fat: 2gCholesterol: 0mgSodium: 6mgCarbohydrates: 13gFiber: 1gSugar: 7gProtein: 1g
**Nutritional info is provided as an estimate based on the ingredients I used and for convenience and as a courtesy only.**
*This post may contain affiliate links.
Mia
If I don’t have tapioca starch, what could I use?
Where you get your protein!
You can try a gluten-free flour blend. Start with a bit less and add more as needed. Enjoy! :)
Bridgette
If I’m allergic to almonds, what do you suggest I use as a replacer?
Where you get your protein!
I would suggest cassava flour or a gluten-free all purpose flour. However, the results may be more dry. In that case you may need to add in some non-dairy milk to bring it to a dough. But this is just a suggestion as I have not tried this recipe with anything other than almond flour.
Sharilyn Shank
Do you think it would it be possible to substitute Ghee for the Coconut Oil in the cookie - (ideally in the chocolate topping as well)? Some of my family have issues with coconuts.
\
Where you get your protein!
Hi Sharilyn! I have not baked with Ghee, but it should work fine.
Aga
These turned out amazing! I added 1/2 tsp of peppermint extract in the batter and an additional 1/2 tsp on the chocolate glaze. I also added 1 additional tsp of dark cocoa. I used 85% Lindt dark chocolate and added two packets of stevia to sweeten it a bit. These turned out so delicious. Will be making again! Thank you for such a tasty recipe. I think these taste better than the Girl Scout thin mints :)
Where you get your protein!
Thank you, Aga!! I'm so glad to hear you loved the cookies! Your additions sound delicious! :)
Taylor
Thin Mints were my favorite Girl Scout cookie. These are a must to try!
Erin
Made these tonight and everyone loved them! My mom said they were so much better than the real girl scout thin mint cookies! And best of all they are made without junk ingredients. My only comment is that it took a while to mix them due to how the dough crumbled. The tip for adding one tablespoon at a time was helpful! Look forward to making them again!
Where you get your protein!
Thank you so much for the wonderful feedback, Erin! I'm so happy you made these and everyone loved them! :)
Ingrid
Looks soo yummy. Can I use pepermint essential oil instead of the extract you think?
Where you get your protein!
Hi Ingrid! The extract can be replaced with peppermint oil. However, you will need to use less oil since it is more concentrated than the extract. I'd suggest using about 1/8 teaspoon oil to start. Enjoy! :)
Ingrid
Thanks so much. I will be trying them this weekend for my late Valentine's Day celebration
Shelly
Wow!!!!! These are SOOO good! The glaze (I had to make my own chocolate chip recipe (1 part honey, 1 part cocoa, 1 part coconut oil) tasted exactly like a girl scout cookie. I think it the next batch I will add a bit more cocoa to the actual cookie and also a tiny amount of peppermint as well. Thank you SO MUCH for this recipe. I found out I had Celiac in 2003 and this is the first time attempting something like this. I feel like the world needs to know this recipe!!!
Where you get your protein!
Yay! So glad you enjoyed the cookies Shelly!! :)
Lisa
These look great! Do you think I could sun coconut flour or something for the almond flour? Allergic to almonds...
Where you get your protein!
Hi Lisa! I'm sure coconut flour will work, but you might want to add a bit of liquid. Since it's a drier flour, I suggest adding teaspoons of coconut milk as needed. You want the dough to stick together and not crumble. Or you can try replacing 1/4 cup of the coconut flour with 1/4 cup more tapioca starch (flour). I have only made these cookies using almond flour so I can't say for sure how they'll turn out, but I'd love to know if you make them! :)
Gail
Can't wait to try these. THANK YOU THANK YOU THANK YOU.
Where you get your protein!
Enjoy, Gail!!! :)
Anna`
These look fantastic. I was so sad earlier this month when I gave up Girl Scout Cookies due to the fact that their cookies contain palm oil. Now I don't have to be sad anymore! Haha, thanks for the recipe!
Where you get your protein!
Yes Anna, I had the same reservations with Girl Scout Thin Mints! I know you'll love this recipe! Let me know how they turn out!
Two City Vegans
These look so easy and SCRUMPTIOUS.
Where you get your protein!
Thanks, Alix and Casey! They totally are! I'm addicted and have been keeping my freezer stocked!
athleticavocado
These look exactly like the boxed thin mints!! I cannot believe they are healthified and only 10 ingredients! WOW!
Where you get your protein!
Thanks! These are an excellent replacement for the boxed thin mints. And the healthified aspect allows me to enjoy at least 3 at a time. LOL
crissy
These are beautiful!!! Very good recipe, looking forward to trying them!
Where you get your protein!
Thank you, Crissy! I'm addicted to these cookies, they are so good! Hope you enjoy them!